# フォーム
Webアプリに欠かせないフォームを作成してみましょう。
`components`配下に`Form.tsx`を作成しましょう。
`return`で返却する部分はbootstrapのフォームを参考に作成します。
{% embed url="" %}
{% code title="Form.tsx◎" %}
```tsx
export const Form = () => {
return (
);
};
```
{% endcode %}
こちらをApp.tsxにて呼び出しましょう。
...
import { UserList } from "./components/UserList";
import { Form } from "./components/Form";
...
      <UserList />
      <Form />
...
以下のようなフォームができたかと思います。
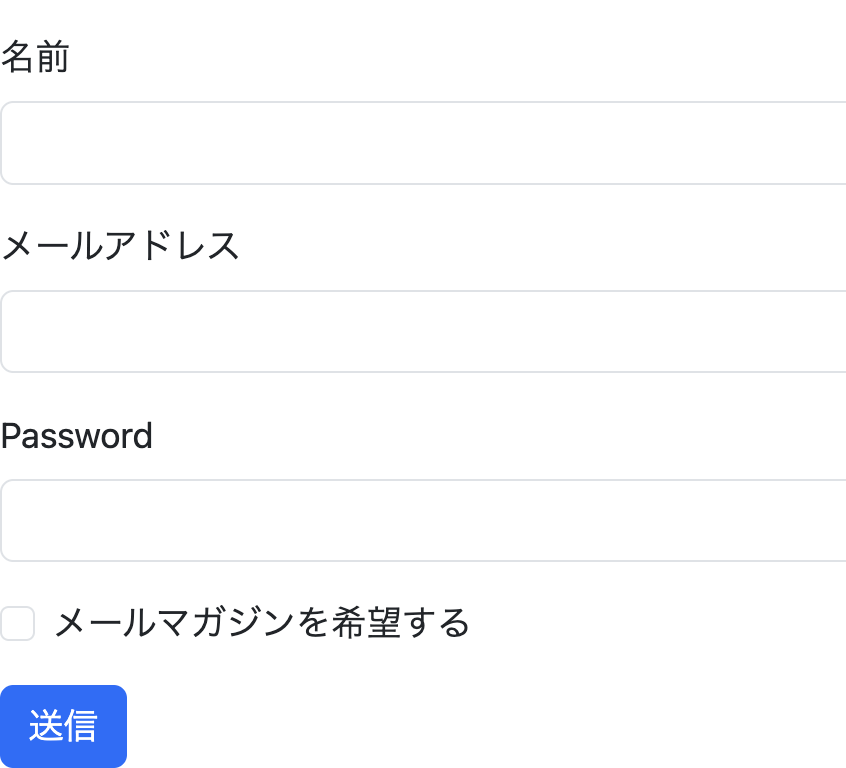 labelタグの`htmlFor`に関してですが、inputタグの`id`と同じ値を格納すると、label要素をクリックした際に、対象のinputタグにフォーカスされます。
formタグに関してですが、子要素の`type="submit"`のbuttonタグが押された際に、onSubmit属性に渡した処理が走ります。`handleSubmit`という関数を定義して、`onSubmit`に渡しましょう。
labelタグの`htmlFor`に関してですが、inputタグの`id`と同じ値を格納すると、label要素をクリックした際に、対象のinputタグにフォーカスされます。
formタグに関してですが、子要素の`type="submit"`のbuttonタグが押された際に、onSubmit属性に渡した処理が走ります。`handleSubmit`という関数を定義して、`onSubmit`に渡しましょう。
export const Form = () => {
  const handleSubmit = () => console.log("送信");

  return (
    <form onSubmit={handleSubmit}>
...
送信ボタンを押すと、コンソールに送信と出力されるかと思います。またページがリロードされるようになったかと思います。これはformタグのデフォルトの挙動で、自動的に入力内容を送信してページをリロードする処理が走ります。この処理をキャンセルすることができ、onSubmitにてFormEvent型のオブジェクトを受け取ることができるのですが、そのオブジェクトの`preventDefault`メソッドを呼び出すことで、デフォルトの処理をキャンセルすることができます。
import { MouseEvent } from "react";

export const Form = () => {
  const handleSubmit = (event: FormEvent<HTMLFormElement>) => {
    event.preventDefault();
    console.log("送信");
  };

  return (
    <form onSubmit={handleSubmit}>
...
次に各入力欄に入力したものをstateにて管理していきます。まずはUser型を作成して、User型のstateを定義します。
import { MouseEvent, useState } from "react";

type User = {
  name: string;
  email: string;
  password: string;
  isMagazine: boolean;
};

export const Form = () => {
  const [newUser, setNewUser] = useState<User>({
    name: "",
    email: "",
    password: "",
    isMagazine: false,
  });

  const handleSubmit = (event: MouseEvent<HTMLFormElement>) => {
    event.preventDefault();
    console.log("送信");
  };
...
inputタグにて入力された値をnewUserに格納する関数を作成します。inputタグには`onChange`属性を付与することができ、入力があった際に処理が走ります。この`onChange`属性は`ChangeEvent`型を引数に受け取ることができ、この型から入力された値を受け取ることができます。また、inputタグの`name`属性を受け取ることができ、これを利用することで、`newUser`のどのプロパティかを判断することができるため、`name`、`email`、`password`の変更を一つの関数で完結することができます。
関数を作成したら、inputタグに属性を付与していきます。まず`name`にはstateの対応するプロパティ名、`value`にはその対応するstateのプロパティの値、`onChange`には`onChangeNewUser`を渡します。
...
  const onChangeNewUser = (event: ChangeEvent<HTMLInputElement>) => {
    const { name, value } = event.target;
    setNewUser({ ...newUser, [name]: value });
  };

  const handleSubmit = (event: MouseEvent<HTMLFormElement>) => {
    event.preventDefault();
    console.log("送信");
  };


...
        <input
          name="name"
          type="text"
          className="form-control"
          id="nameForm"
          value={newUser.name}
          onChange={onChangeNewUser}
        />
...
        <input
          name="email"
          type="email"
          className="form-control"
          id="emailForm"
          value={newUser.email}
          onChange={onChangeNewUser}
        />

...
        <input
          name="password"
          type="password"
          className="form-control"
          id="password"
          value={newUser.password}
          onChange={onChangeNewUser}
        />
...
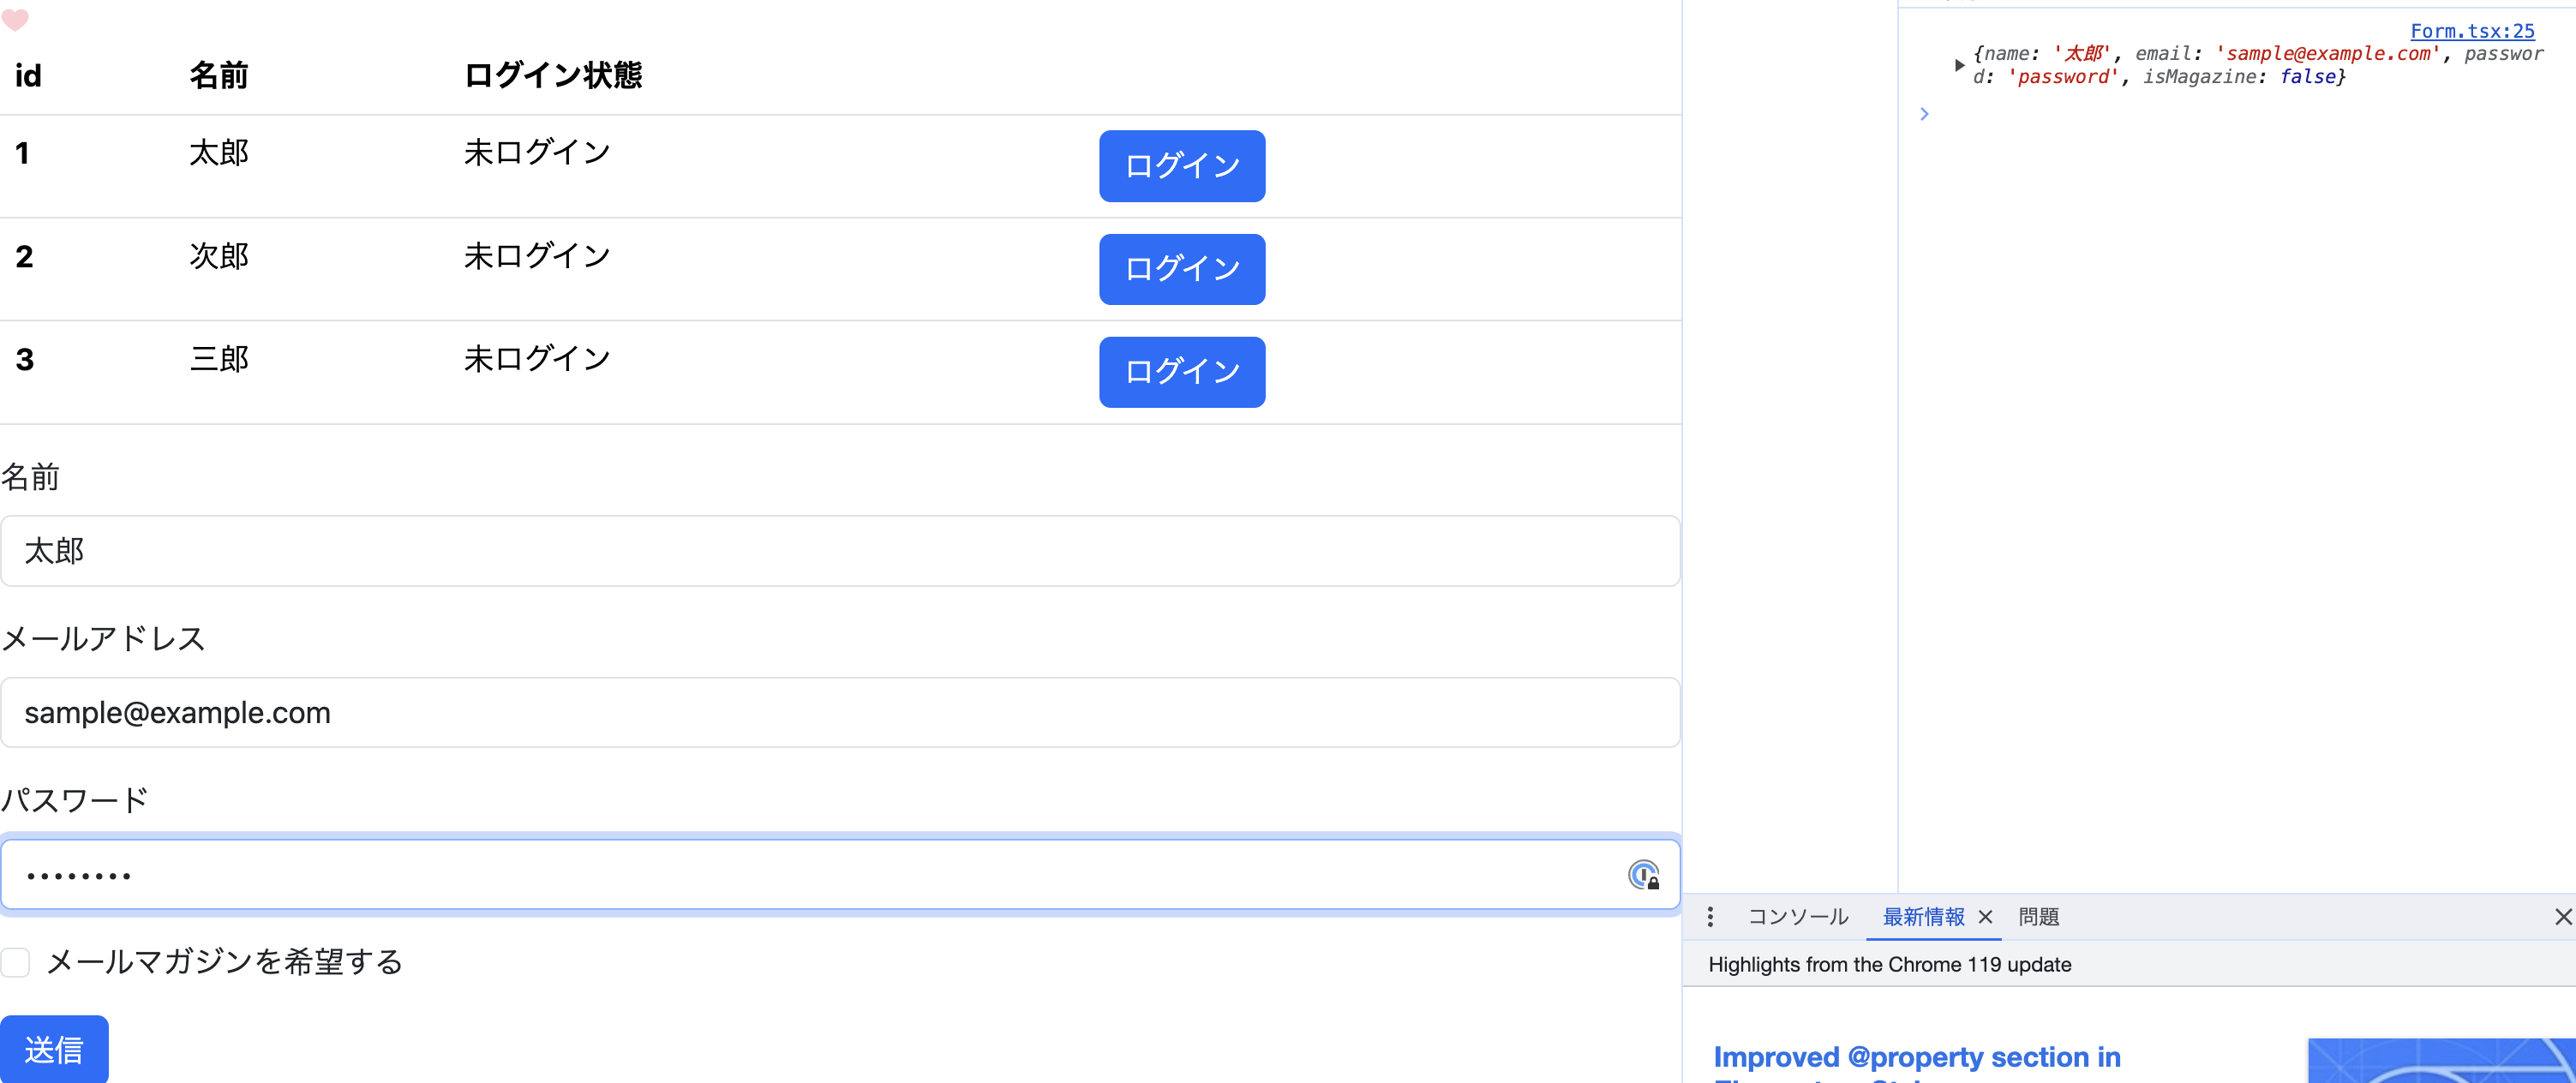
newUserの値が変更されたか確認するために、handleSubmitにてnewUserをコンソールに出力するようにしましょう。
...
  const handleSubmit = (event: MouseEvent<HTMLFormElement>) => {
    event.preventDefault();
    console.log(newUser);
  };
...
上記にて、フォームを入力して送信ボタンを押すと、`newUser`に値が格納されていることが確認できます。
 `isMagazine`に関しては工夫が必要で、inputタグのtypeがcheckboxのため、チェックされたかどうかを受け取る必要があり、`event.target.checked`を受け取ることで、チェックされた場合に`true`、外した場合に`false`を受け取ります。そして、`checkbox`の場合のみにcheckedの値を扱うため、`event.target.type`を受け取り、`type`が`checkbox`の場合に、`checked`の値を格納するようにします。
...
  const onChangeNewUser = (event: ChangeEvent<HTMLInputElement>) => {
    const { name, value, type, checked } = event.target;
    setNewUser({ ...newUser, [name]: type === "checkbox" ? checked : value });
  };
...
次に、isMagazineを変更するinputタグを以下のように修正します。`type="checkbox"`のものに関しては、`value`ではなく、`checked`という属性に`boolean`型を渡します。
...
        <input
          name="isMagazine"
          type="checkbox"
          className="form-check-input"
          id="isMagazineCheck"
          checked={newUser.isMagazine}
          onChange={onChangeNewUser}
        />
...
上記にて、`isMagazine`の値も変更できるようになったかと思います。